
The last time I was at the J.Crew outlet I, like many others, feel in love with their embellished t-shirts. However, I could not pay $25 for a beautifully embellished t-shirt only to cover it with a cardigan because the sleeves were shorter than I prefer. Since I couldn't find an embellished 3/4 sleeve t-shirt I made it myself! So, here's my first tutorial " From cap sleeve to 3/4 length sleeve t-shirt"
Materials:
Two t-shirts in the same color (One will be "shirt A", the one we will cut up. "Shirt B" will be our final shirt)
Thread
Seam ripper
Scissors
Ball point needle for sewing knits
An old t-shirt with a sleeve length you like
1) With your seam ripper, carefully remove a sleeve from your old t-shirt which will act as your pattern.
 2) Place your open sleeve against the bottom of your. Pin and cut two sleeves from shirt A.
 This is what it should look like:
 3) Fold sleeves in half right side together and sew.
 4) Carefully remove capped sleeve from shirt B. (Below are shirt B, old sleeve, and new sleeve). The new sleeve is about double the length of the original.
 5) Line up your new sleeve seam with your shirt B seam and pin around the armhole.
 5) Sew around the armhole. Yeaaaah! You just sewed a sleeve and made a t-shirt a little more modest...no cardigan needed. Use the rest of shirt A to embellish your t-shirt. Here is a good tutorial.
 5) Line up your new sleeve seam with your shirt B seam and pin around the armhole.
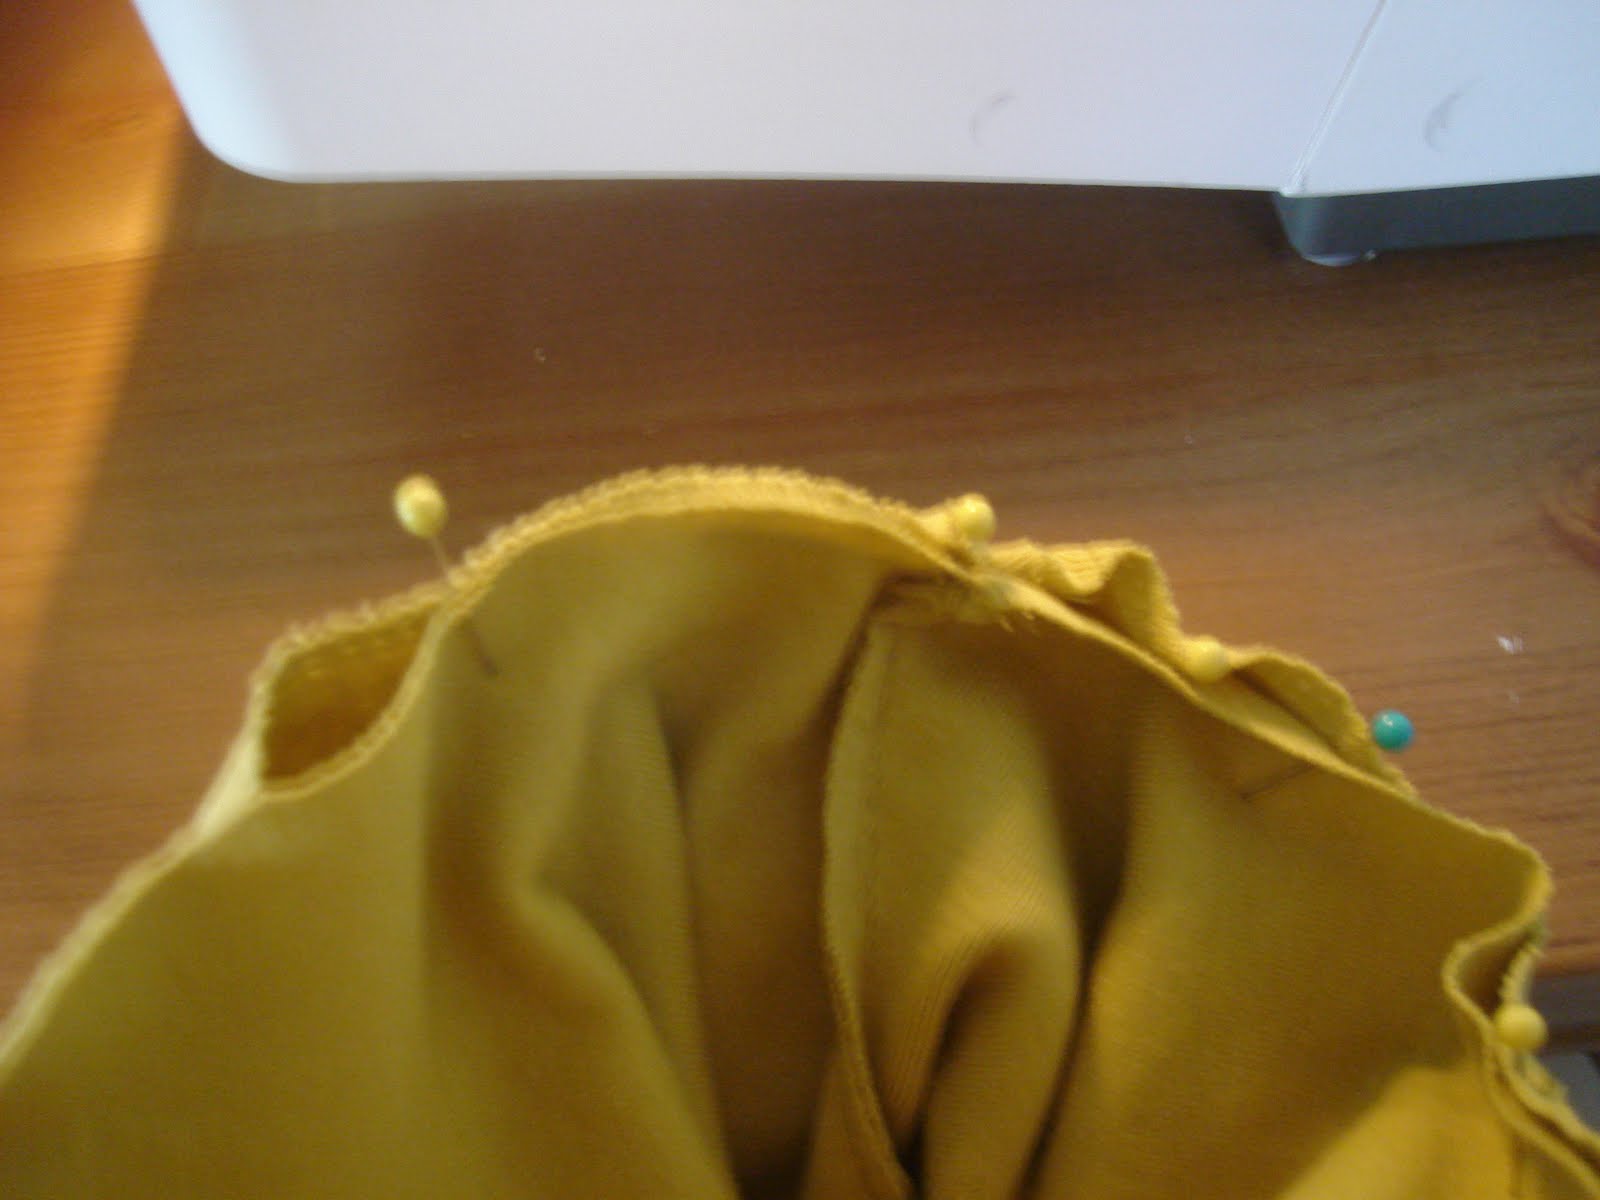 5) Sew around the armhole. Yeaaaah! You just sewed a sleeve and made a t-shirt a little more modest...no cardigan needed. Use the rest of shirt A to embellish your t-shirt. Here is a good tutorial.
This comment has been removed by the author.
ReplyDeleteI know you're my wife and all but this looks great baby! I'm glad you've got this outlet and you're able to share your stuff with the world. You've done 3 projects in less than a month and they all turned out great. Now if I can only get you to make me another neck tie ~RG
ReplyDeleteThank you honey. Have I told you lately how much I love you?
ReplyDeleteI don't sew but my dog eats sleeves.. so maybe someday I'll try this to replace what he eats.
ReplyDelete