Wednesday, September 29, 2010

Modest Looks from Forever 21


I used to think Forever 21 was a loud crowded store full of a bunch of party tops and and tight jeans. Well, the store is a bit crowded and loud but Forever 21 also has reasonably priced items, very cute accessories, and occasionally you can even find something modest. I've had a lot of success finding cute affordable tops during my pregnancies, but the bottoms were always another story. Although I've searched high and low, I have never found a skirt modest enough to buy at Forever 21. Maybe that has finally changed -- at least for this season. The skirts and dresses above are examples of what you might be able to find ... if you're willing to endure the loud music and search the racks. I guess you could shop online, but you might want to try the items on first to check for sheerness and/or tightness. You may also want to check out their Love 21 line which is described as offering a more sophisticated and modest fit...like this new skirt!

Tuesday, September 28, 2010

KCWC: Bitty Booties


Last week was the Kid's Clothes Week Challenge over at Elsie Marley's blog. The challenge was to devote one hour a day to sewing clothes for kids. Talking about a challenge?! I wasn't able to sew each day, but I was motivated to make something for my little ones. I have some projects that aren't yet complete, but I did manage to finish the shoes above for a very happy little girl. I used this tutorial and pattern from Heather Bailey for the "Bitty Booties."

Monday, September 27, 2010

I'm back...


to cooking (and blogging- i think). The cook in me was on hiatus for a while. I was cooking but I wasn't very intentional in my grocery shopping and cooking. After having the baby I was in survival mode...but I'm back!

A friend introduced me to this website, and this one, oh, and don't forget this one! I used these recipes and my family has eaten fresher, healthier, and tastier dishes this week. The saucy syrup and waffles above from This week for Dinner were a big hit at my house. And the best part is I still have meals in the freezer which means less time prepping and more time crafting!

Stay tuned, I'll show you what I've been sewing lately.

Tuesday, September 14, 2010

Real Simple Essay Contest


My favorite magazine, Real Simple, is having its annual essay contest. The deadline is September 24th. Simply finish the sentence "I'd never thought I'd..." and 1500 words or less could get you a trip to NY, tickets to a Broadway play, lunch with the editors, and $3,000. I haven't started writing yet, but I have made plans for the money in the event that I win.


Thursday, September 9, 2010

Make It Yourself: From Cap Sleeve to 3/4 Sleeve Tutorial

The last time I was at the J.Crew outlet I, like many others, feel in love with their embellished t-shirts. However, I could not pay $25 for a beautifully embellished t-shirt only to cover it with a cardigan because the sleeves were shorter than I prefer. Since I couldn't find an embellished 3/4 sleeve t-shirt I made it myself! So, here's my first tutorial " From cap sleeve to 3/4 length sleeve t-shirt"

Materials:
Two t-shirts in the same color (One will be "shirt A", the one we will cut up. "Shirt B" will be our final shirt)
Thread
Seam ripper
Scissors
Ball point needle for sewing knits
An old t-shirt with a sleeve length you like

1) With your seam ripper, carefully remove a sleeve from your old t-shirt which will act as your pattern.

2) Place your open sleeve against the bottom of your. Pin and cut two sleeves from shirt A.
This is what it should look like:
3) Fold sleeves in half right side together and sew.

4) Carefully remove capped sleeve from shirt B. (Below are shirt B, old sleeve, and new sleeve). The new sleeve is about double the length of the original.
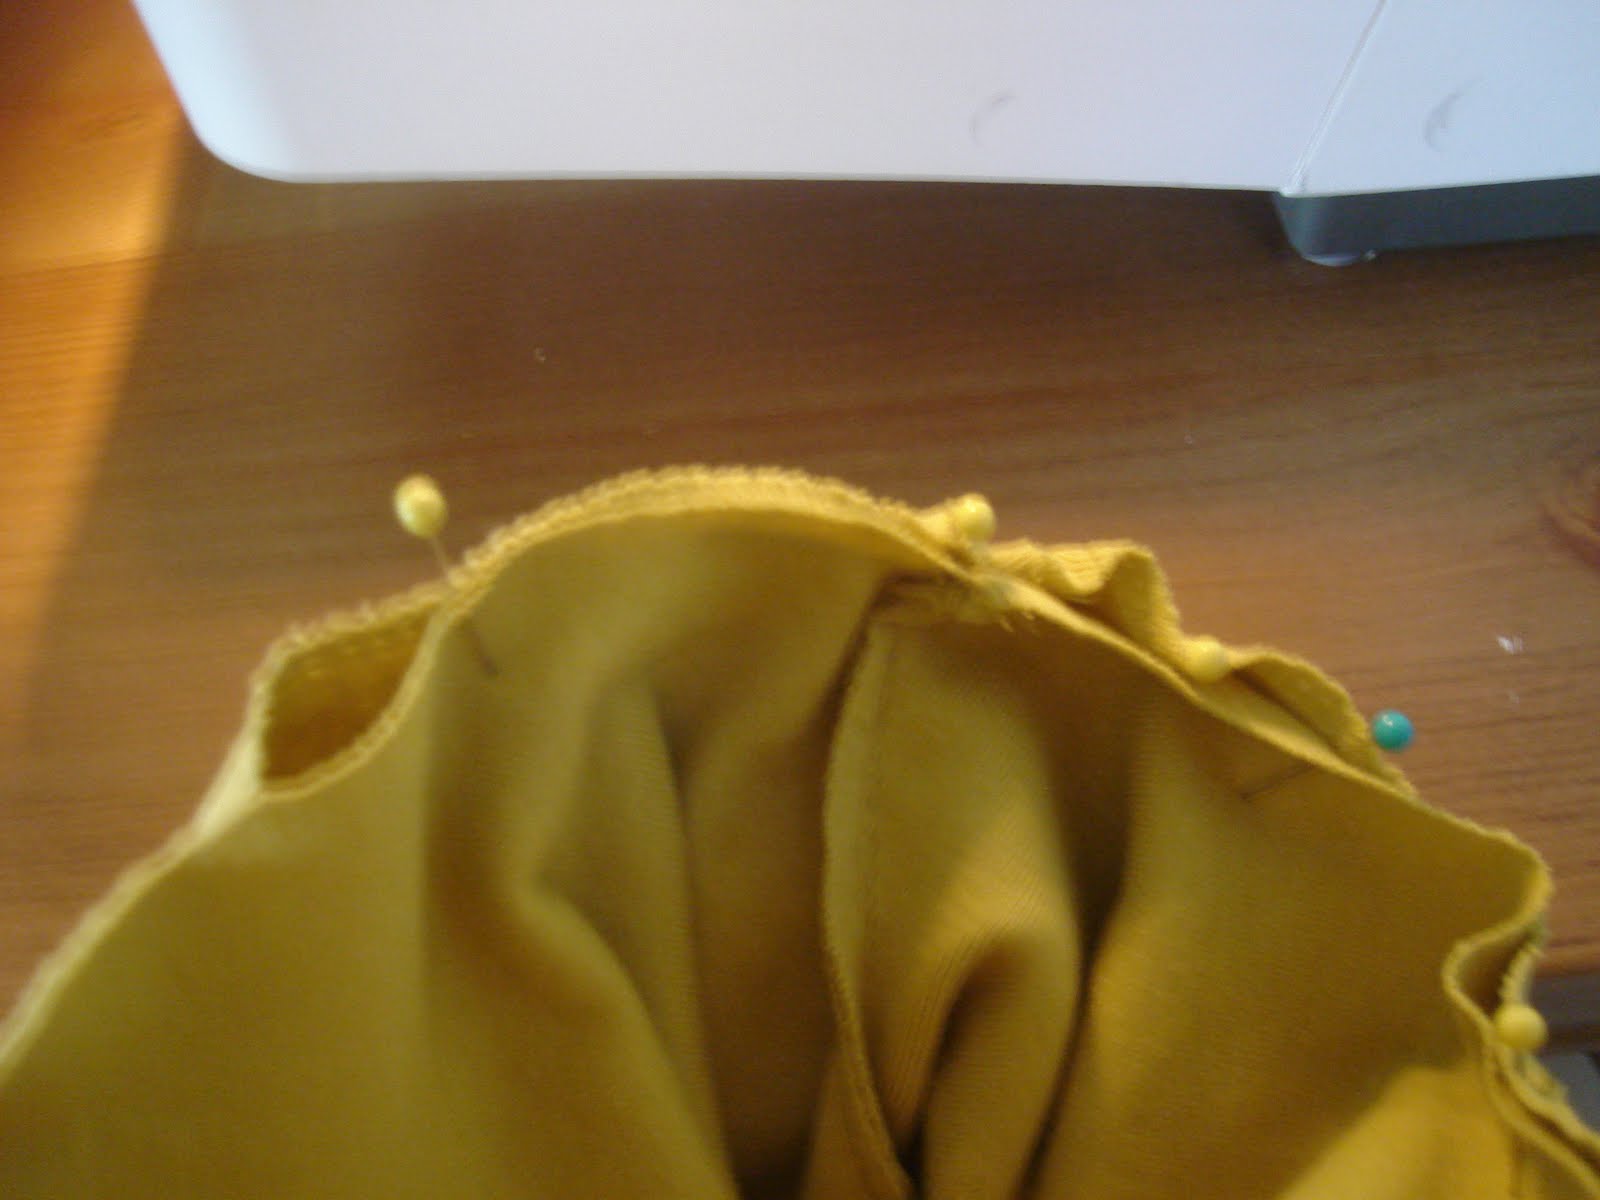
5) Line up your new sleeve seam with your shirt B seam and pin around the armhole.
5) Sew around the armhole. Yeaaaah! You just sewed a sleeve and made a t-shirt a little more modest...no cardigan needed. Use the rest of shirt A to embellish your t-shirt. Here is a good tutorial.


Wednesday, September 8, 2010

My Take on the Elastic Waist Skirt Mama Edition

Photo by Morgan C. Bolton


Photo by Morgan C. Bolton


So, I originally saw the Freshly Picked: Elastic Waist Skirt Tutorial - Mama Edition posted on say Yes! to hoboken. I agreed with Liz about the shape and bunching, so I made a few alterations*. I didn't use as much fabric and added darts in the front. The finished product is a little more straight. My favorite parts about the skirt are the pockets (thanks to the template and instructions from Susan) and the fabric which is home decor fabric from Joann. I can't wait to make another one.

*Side note, I think the original design is nice. However, since I just had a baby four months ago I'd rather not have as much gathering in my midsection:)